🍪 We use cookies and similar technologies to ensure the proper functioning of the website, improve your experience and, with your consent, analyze traffic and show more relevant content and advertising, including with the help of our analytics and marketing partners.
You can agree to use all cookies by clicking "Accept all!" Or indicate your preferences in Settings by selecting a given type of cookies and clicking the "Save" button
Cookie settings
We use cookies to ensure the proper functioning of the website, remember your preferences and, with your consent, analyze how the website is used and improve the content and advertising you see. For some of these purposes, we also use services provided by our analytics and marketing partners.
Choose which cookies you would like to allow. Some are necessary for the proper functioning of the website, while others help us improve your experience.
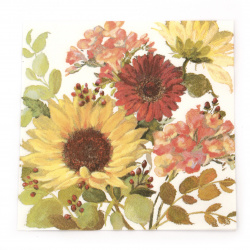
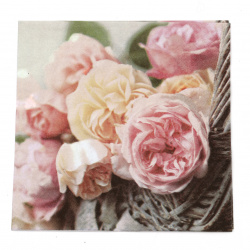
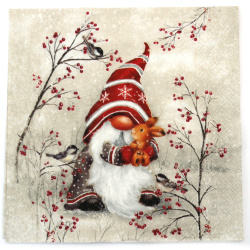
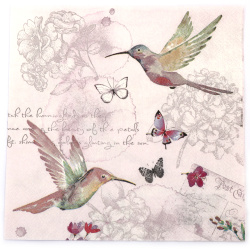
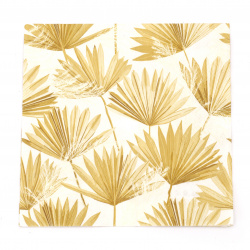
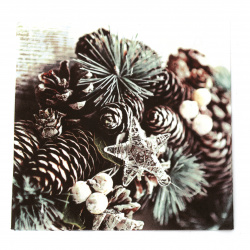
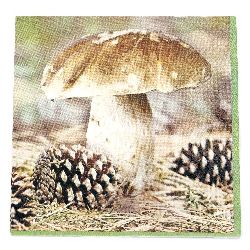
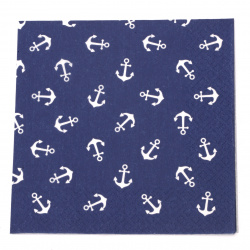
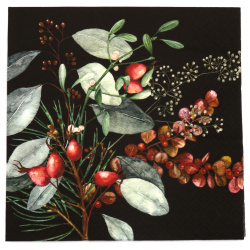
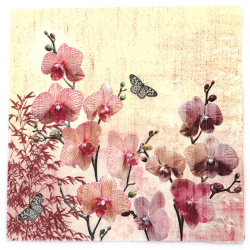
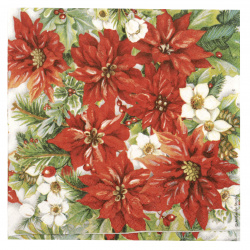
Decoupage Napkin - The door to endless creative possibilities. Discover unique designs for your next decoupage project.
Brand
TI-FLAIR
Decoupage napkins are an incredibly important and creative accessory for anyone involved in the hobby of decoupage. These exquisite paper sheets with various designs and motifs combine functionality and aesthetics, providing endless possibilities for creating unique projects. In the following lines, we will introduce you to the essence of decoupage napkins and how exactly you can use them to add creativity and individuality to different objects and surfaces.
How to use decoupage napkins?
Using decoupage napkins is easy and fun, and anyone can dive into this hobby with minimal effort. Here are step-by-step instructions for successful application:
1. Prepare the surface: The most important thing is to prepare the surface you want to decorate by cleaning it and making it smooth and dry. This will facilitate the adhesion of the napkin.
2. Separate the layers: Decoupage napkins often consist of three layers. Separate the design by using only the top, colored layer that will bring life and color to your project.
3. Gluing: Apply a thin layer of decoupage glue (for example, decoupage varnish) on the surface. Place the napkin on the glue and gently smooth it with your fingers or a brush to adhere it evenly.
4. Smoothing: Carefully smooth the napkin to remove any wrinkles, working from the center to the edges. This will create a smooth and flawless decoration.
5. Finishing: Apply an additional layer of decoupage glue or varnish to secure and protect your decoration. This step not only adds shine and durability to your project but also protects it from moisture and wear.
Decoupage napkins are an incredible way to express your creativity and turn ordinary objects into unique works of art. The unlimited possibilities they offer will inspire you to create something amazing and unique.
Rate product:
Rating 5.00 / 5 from 1 reviews.
Customer’s photos
No photos uploaded, (You must be a registered user to upload pictures).