


 0 Commentа
 Printing
 04.11.25
 19.09.19
3D MANDALA WALL DECORATION IDEA
BACK ON THE WAVE OF INSPIRATION
We continue our journey through the world of creativity, where each day can bring us new inspiration, useful experience, and exciting discoveries.
I’ll share an inspiring creative adventure along with two valuable discoveries of my own. I hope to be helpful to those who love transforming their space through imagination, bringing a touch of magic and beauty to their surroundings.
EXTRUDED POLYSTYRENE (XPS FOAM)
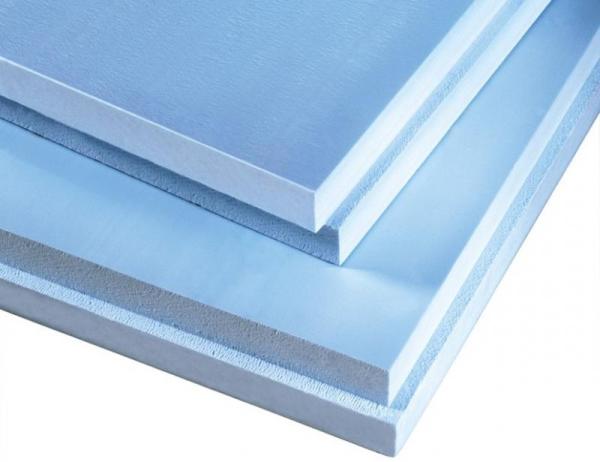

This material can be seen every day at construction sites and on buildings undergoing insulation. Yes! This is the first discovery I wanted to share with you. It comes in different thicknesses and colors, is easy to cut, and extremely lightweight. It can be glued onto almost any surface and is perfect for creating all kinds of decorative 3D shapes. If you haven’t yet added it to your creative toolbox, you definitely should—it will expand your possibilities.
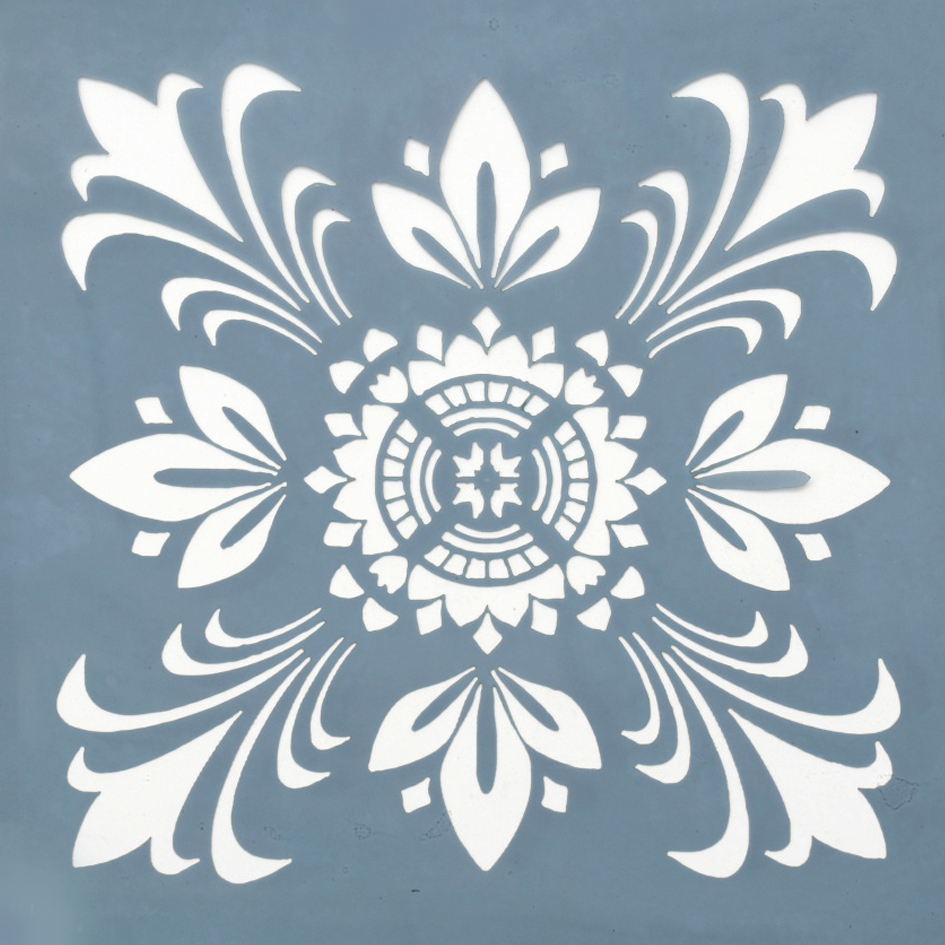
The type I usually use is green, smooth, and about 1 cm thick. In this particular project, using a pre-made cardboard template, I cut out lotus petals from it to create a 3D mandala on the wall.
For cutting, you’ll need a utility knife. Remember to hold it upright while cutting to avoid deformations. Cut slowly and replace the blade often to keep it sharp for smooth, clean lines. Otherwise, the edges may tear or become jagged.
Once you’ve cut your shapes, you can attach them to the wall using small nails or glue. Construction adhesive works perfectly. With the help of filler or texture paste, you can fill gaps and holes, shaping the base and preparing it for the sweetest part of the project—the decoration itself.
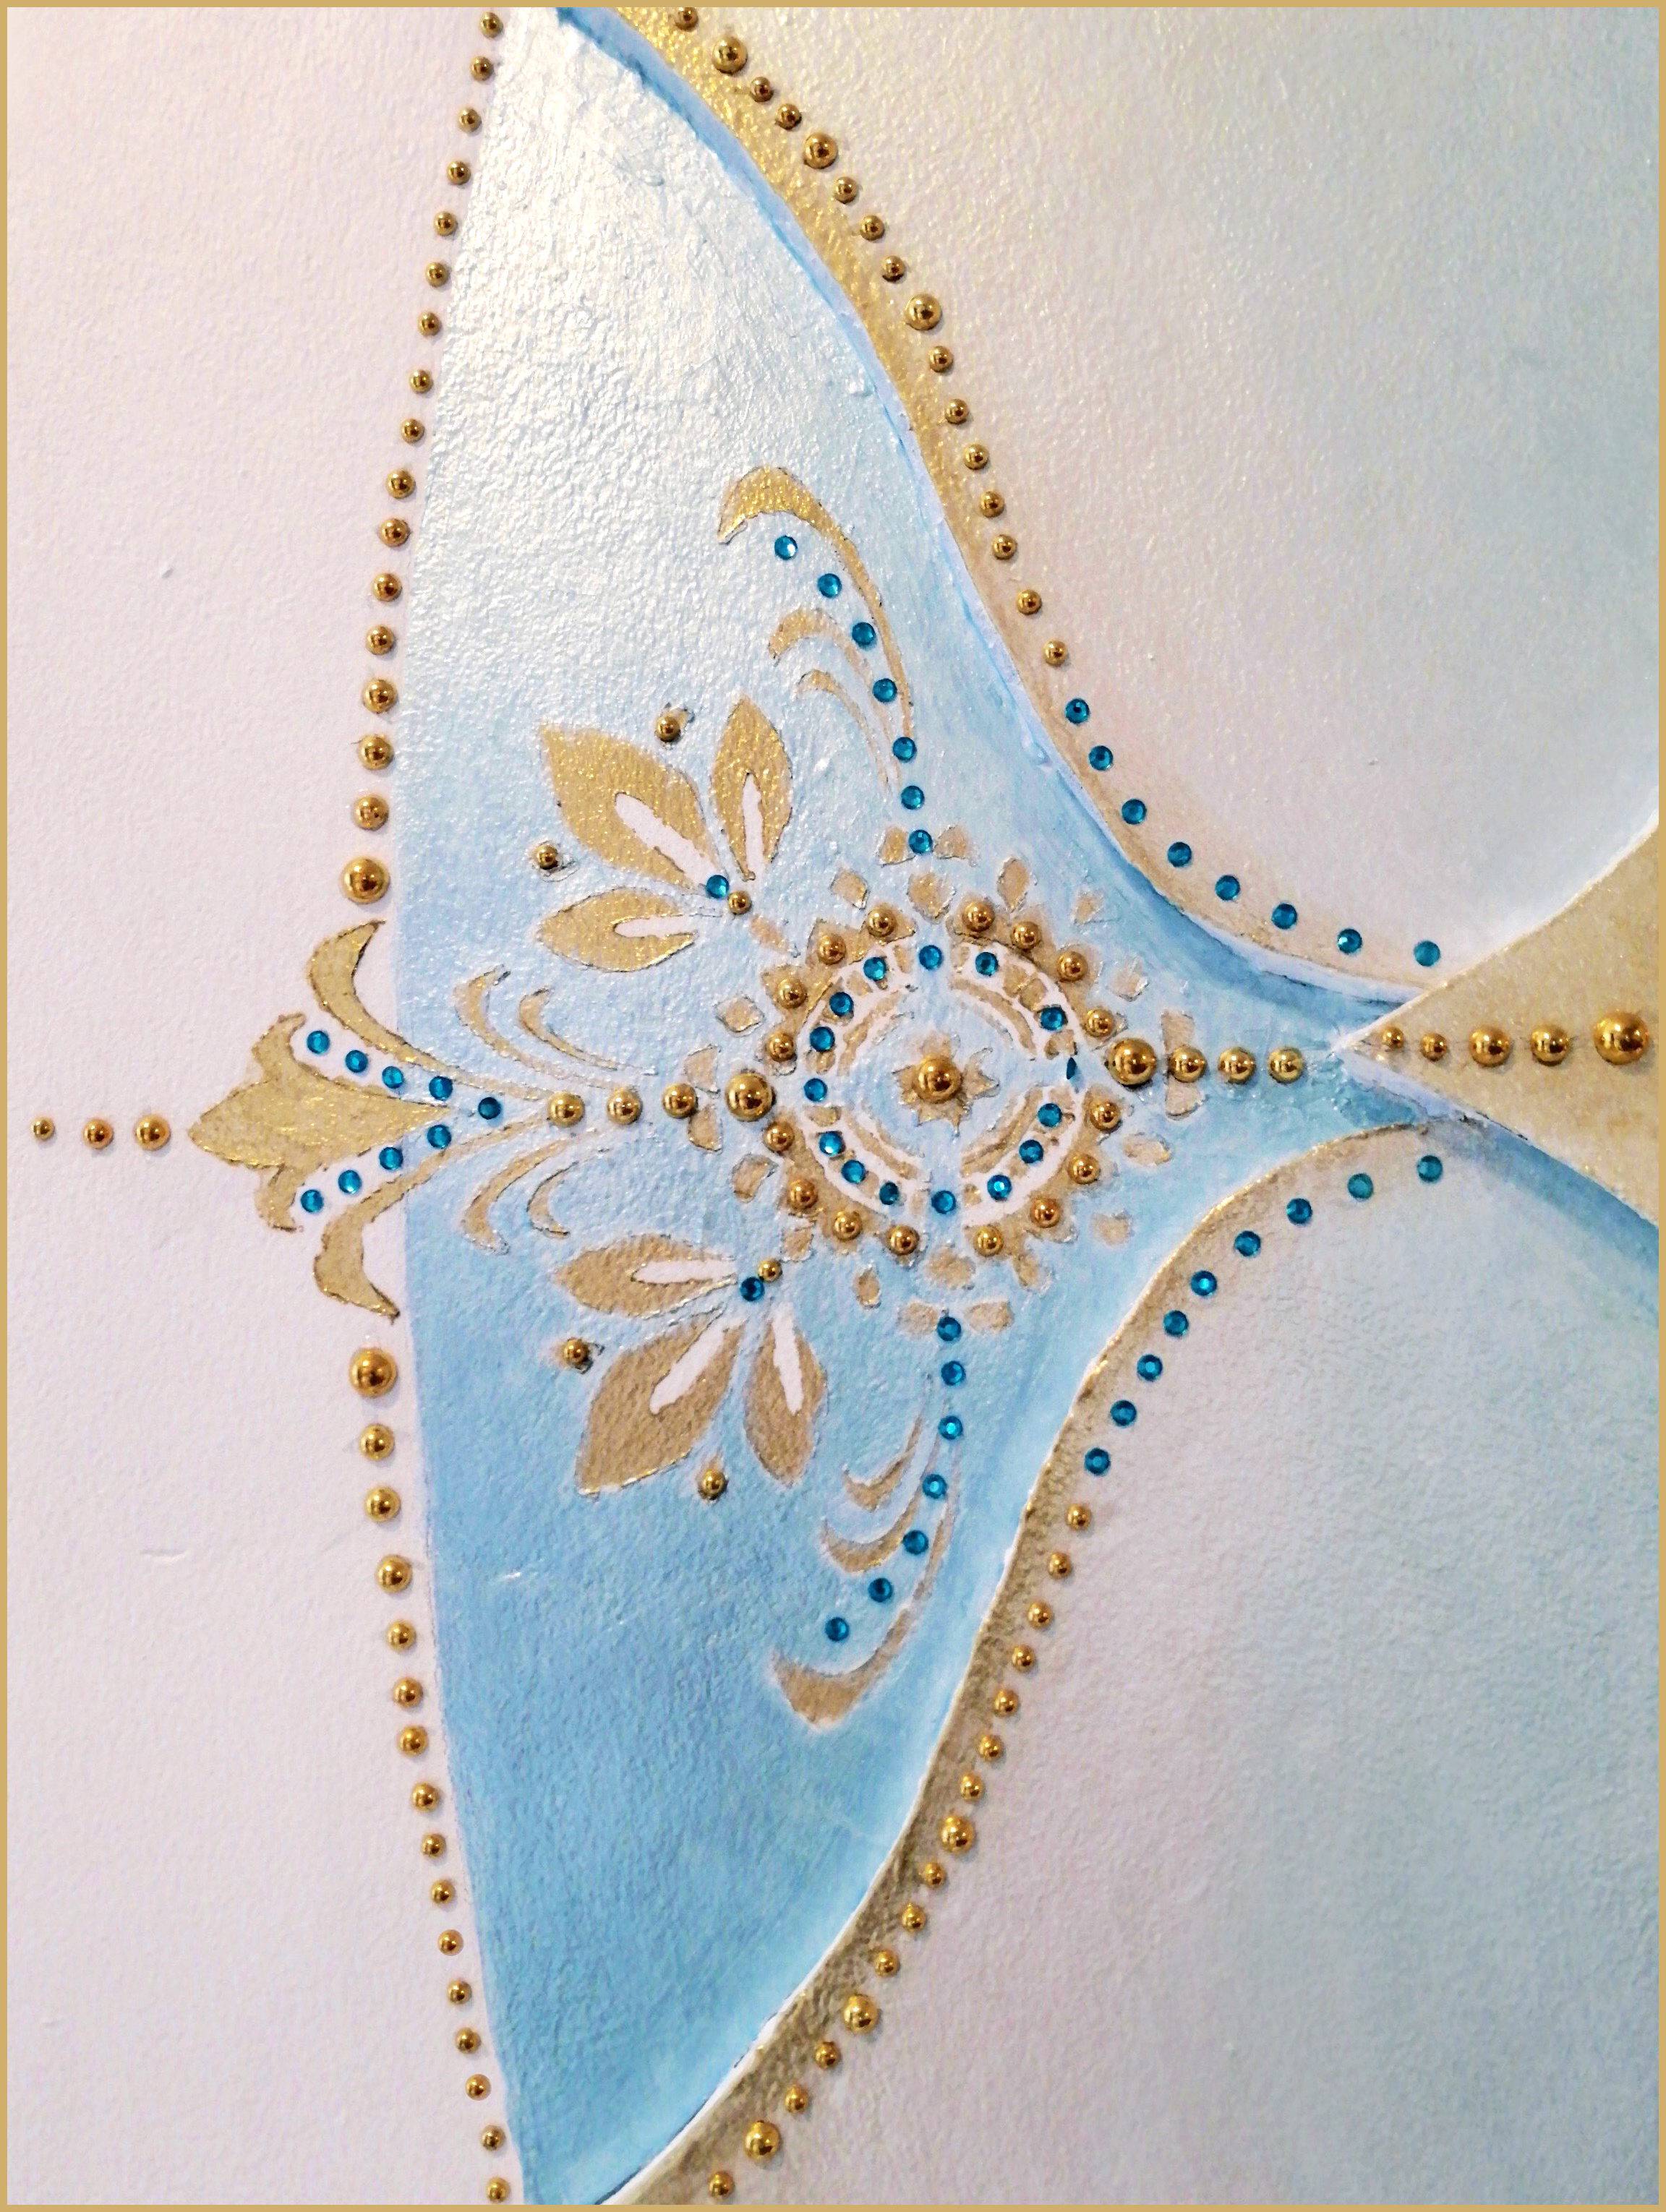
MANDALA ON THE WALL
My project represents an embedded frame or altar designed to surround a sacred object that will be installed on the wall of a spiritual center. That’s exactly what makes it so exciting for me. Now you probably understand why I chose a mandala, lotus petals, and blue-golden tones.
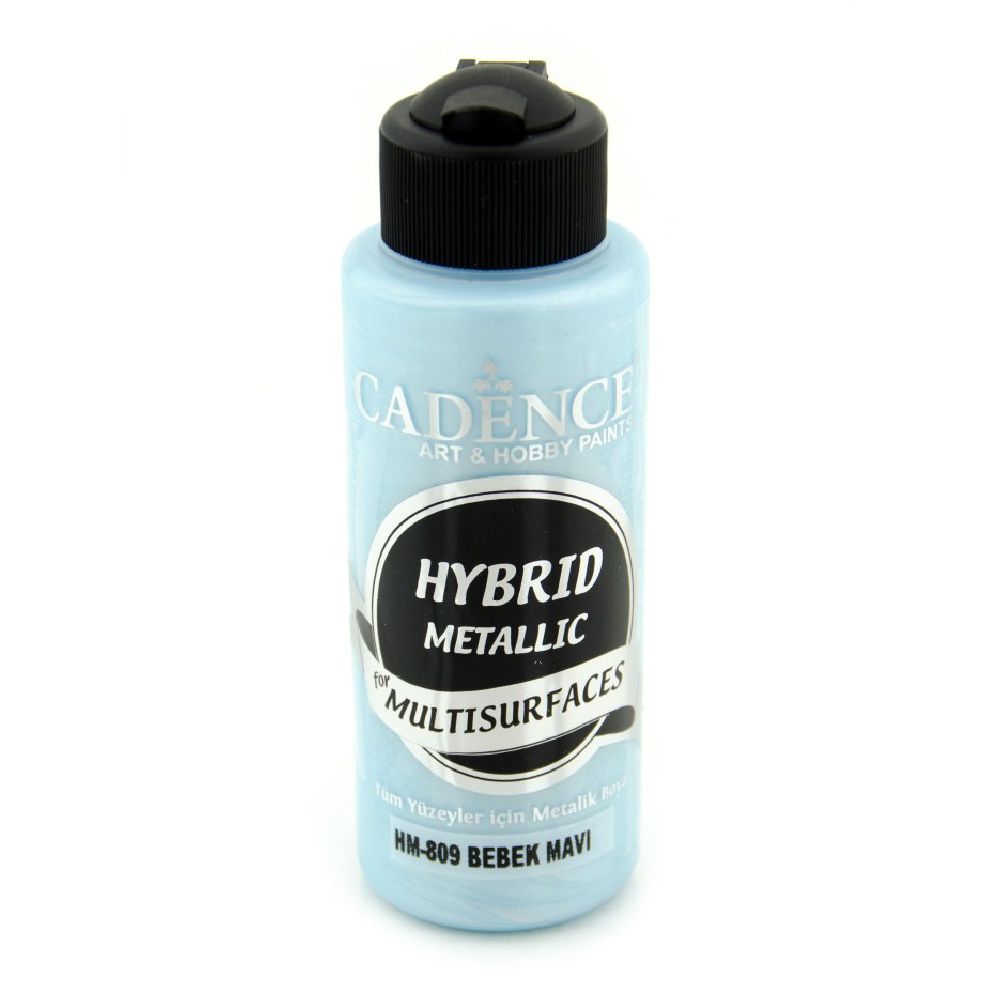
The paints I used are special decorative paints by CADENCE — some of the best on the Bulgarian market.
This paint is rightfully called a hybrid between soft blue and silvery gray. It doesn’t form a uniform tone but rather a delicate blend of shades that merge into each other. Depending on the light and viewing angle, the hues constantly shift.
I used it for the small details. The more layers you apply, the denser and more homogeneous the color becomes, enhancing the golden shine. It’s best to let each coat dry before applying the next. For larger areas, I mixed it with white wall acrylic paint, and I’m happy with the result — there’s still a shimmer, but more subtle.
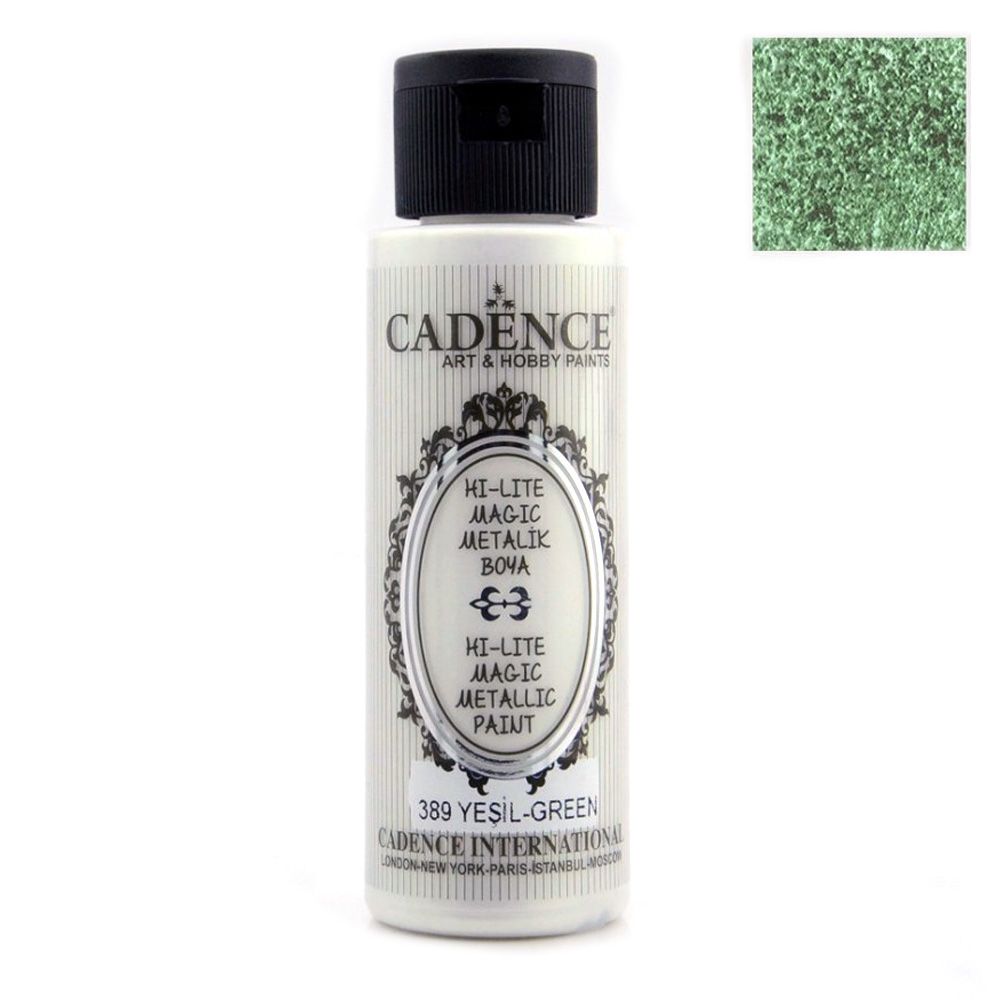
- White – Iridescent CADENCE HI-LITE MAGIC Metallic Paint GREEN 389
The white paint was a real surprise for me. I bought it on a Sunday, and in the only open store, I couldn’t find any other white. A bit annoyed at what I thought would be a compromise—and especially because the label clearly said “GREEN”—I decided to give it a try anyway. After painting the first two petals, I was amazed by the result. I wanted to create a lighter fade at the edges, but unexpectedly, the color shifted: green from one angle, white from the front, and pink from the other. Although the surprise initially startled me, I continued, and the result turned out truly magical—just as the name boldly claims.

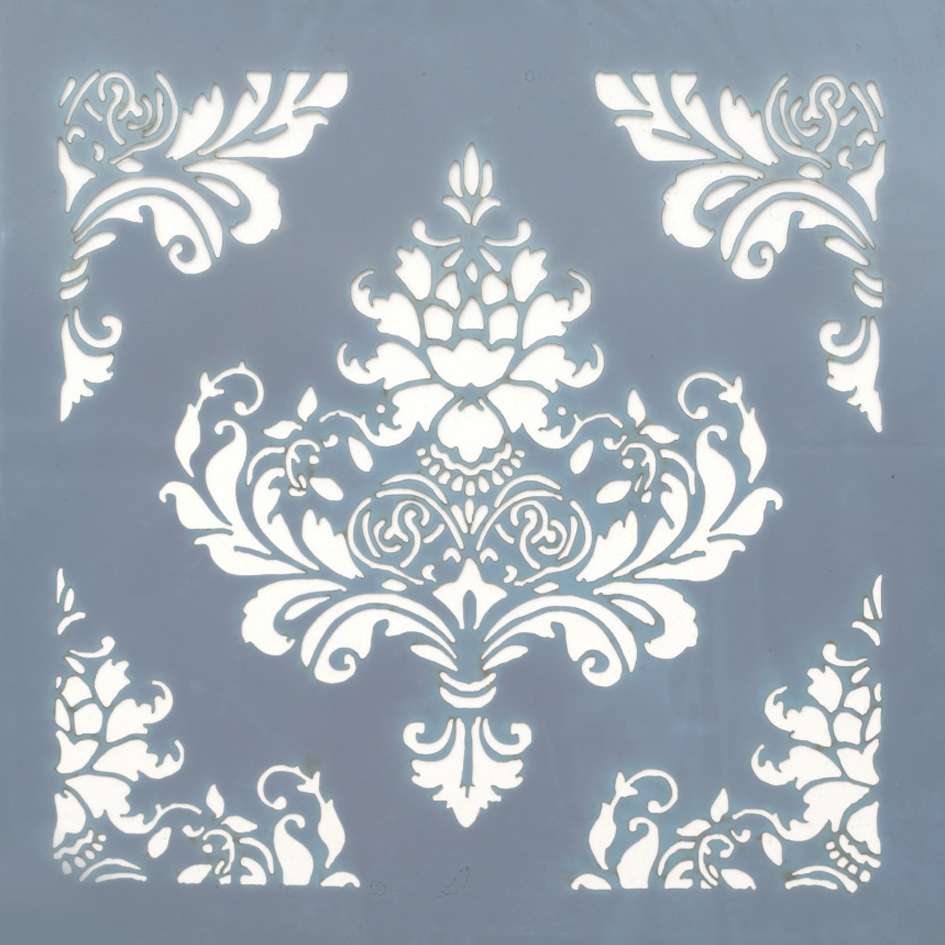
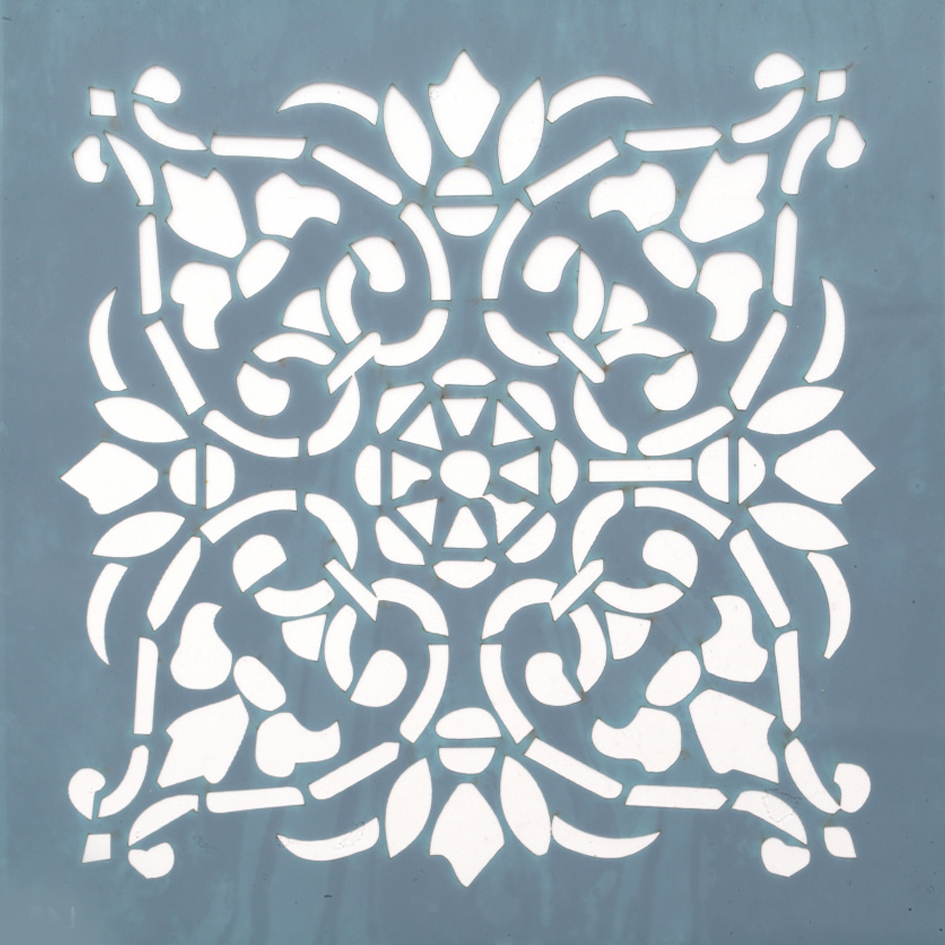
As for the ornaments, EM ART is the place where you can find stencils. Personally, I love to visit in person or browse the stencil selection online before having a set concept. This way, the idea quickly forms in my mind based on the available options, and the materials for the project are immediately at hand.
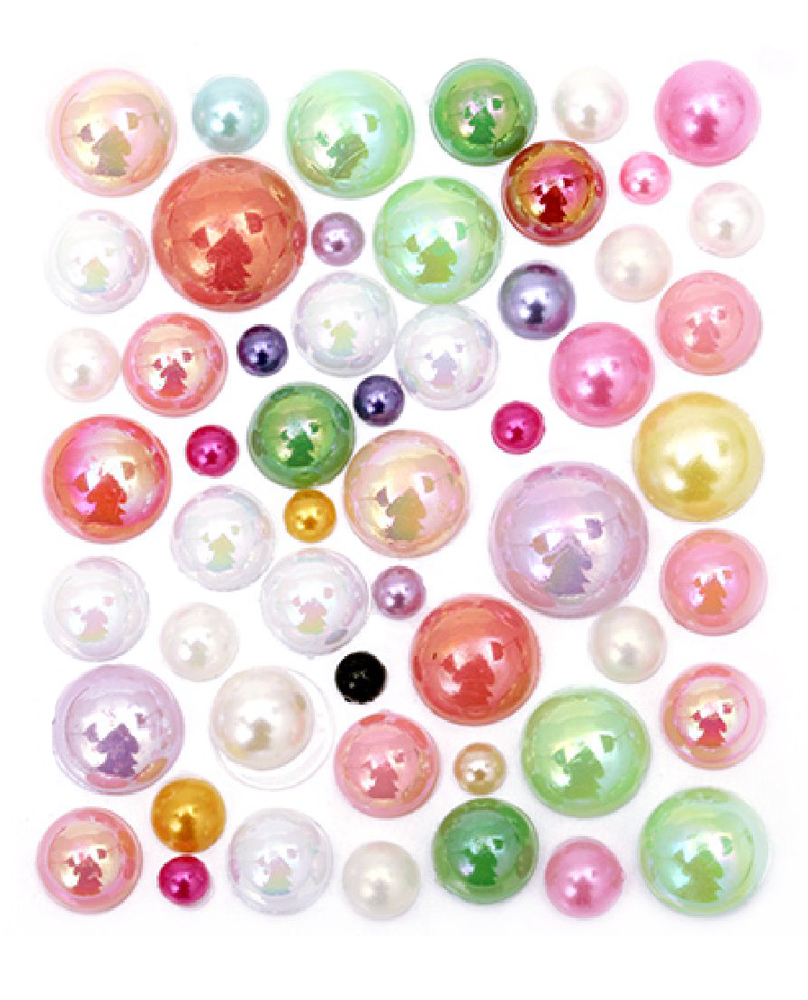
ACRYLIC RHINESTONES
The “dessert” this time is the acrylic rhinestones. They are the second valuable discovery that came with this project. I’m now eager to find even more uses for them. You might say I haven’t discovered anything new—after all, rhinestones have been on the market for years, used for all kinds of trinkets. But that’s exactly why I never thought of buying them. The dilemma was this: can they be used for something meaningful? And after a bit of a struggle with my own prejudice, my answer is YES!
With their different sizes, shapes, and colors, they allow for stunning visual effects. In my project, they added another dimension, enhancing the texture and bringing elegance. The combination of opaque and transparent rhinestones broke up the relatively monochrome design, adding playful reflections.
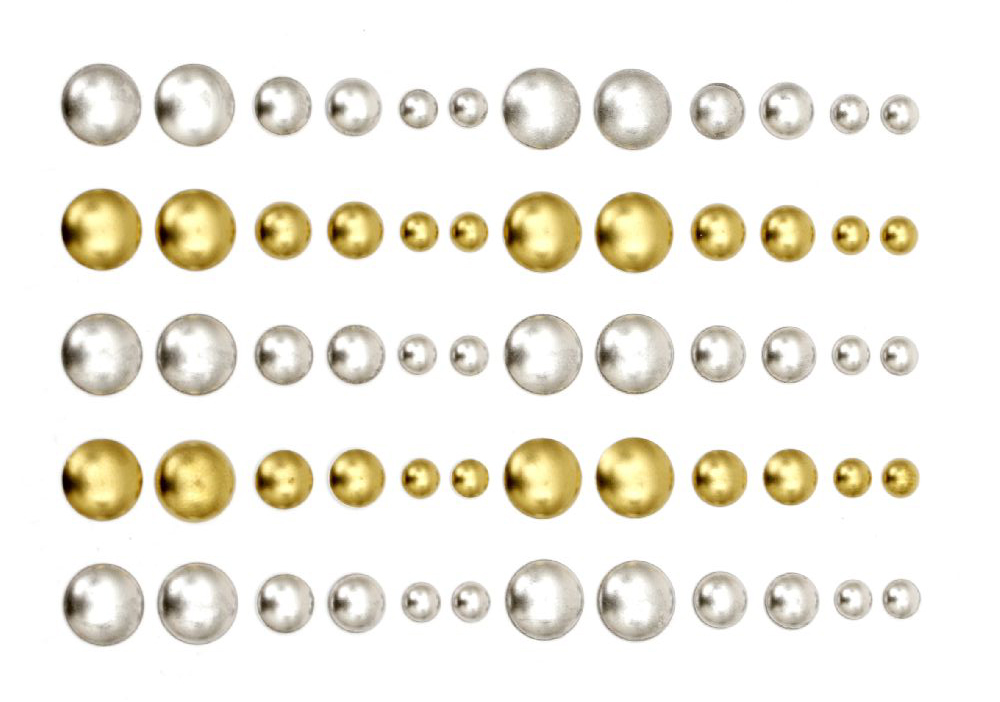
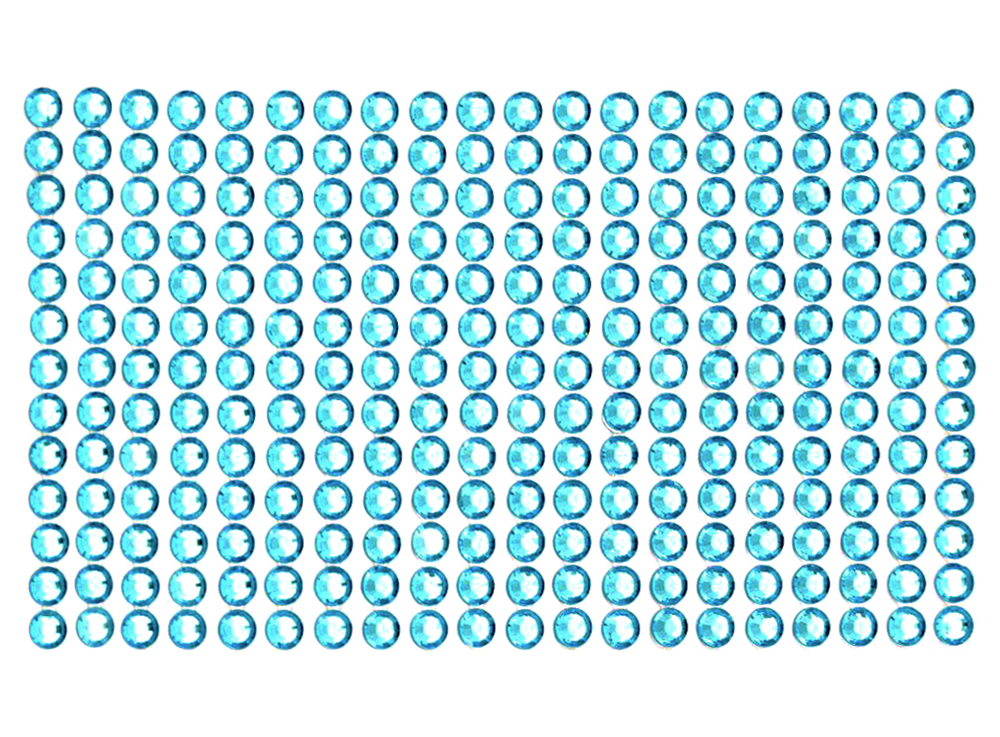
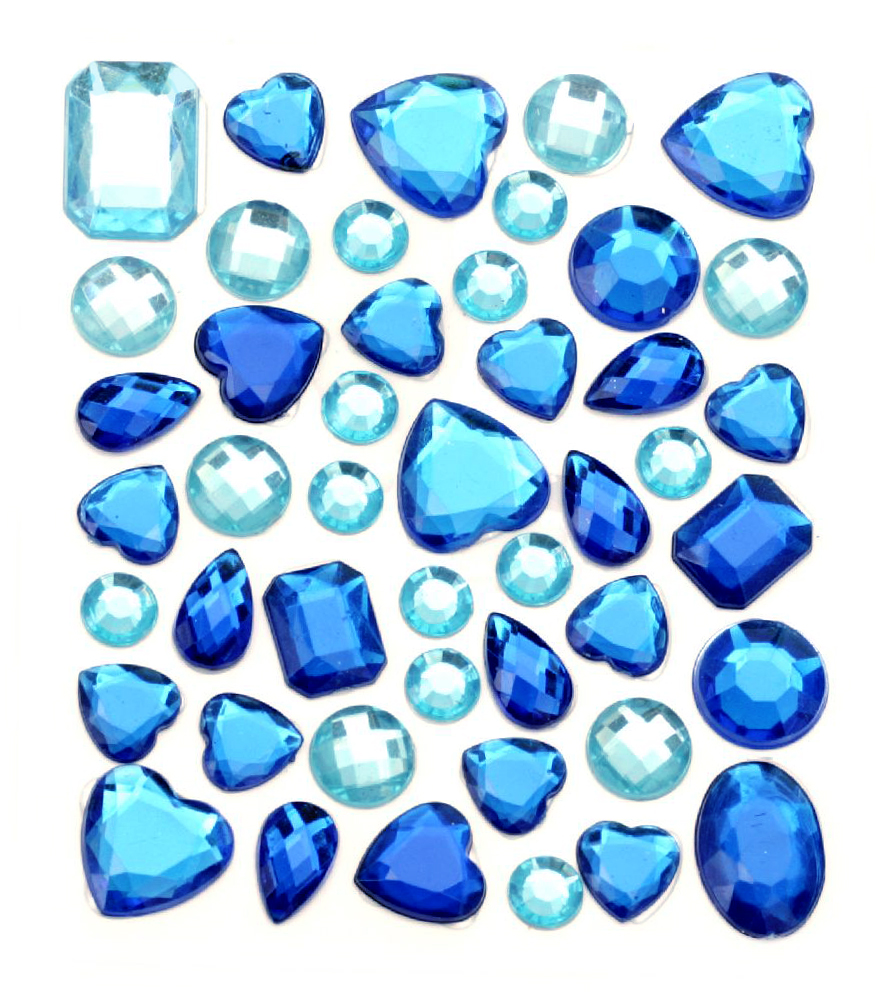
Acrylic rhinestones come pre-arranged on a self-adhesive silicone strip or with a silicone dot on the back for sticking. If you want to create a lasting decoration, I recommend not relying on that adhesive alone—use universal glue (or silicone glue) instead. However, for temporary decorations, this option is perfect. Not all acrylic rhinestones are self-adhesive; some are cabochon type, which require glue for application.
Be sure to browse through all the options as well as the stencils — surely, you’ll find yourself inspired by many new, beautiful, and creative ideas for decoration and beyond.
| Daya (Daya) | Daya |
 I am a huge enthusiast of creating new handmade beauties, whether it is with beads, paper and pen, canvas and acrylic, or yarn. Every form of art or intricate crafting brings additional inspiration! If you are curious about what else we can make and craft with art and craft materials, stay tuned for updates in the blog and, of course, feel free to share your ideas!
| All articles on Daya |
Rate the article 5.00/5 from 2 grades. |
|
| You have already voted for the article | |
Recommended articles
 Crafting Stunning Epoxy Resin Jewelry by Capturing the Beautiful Essence of Nature
 PAINT BY NUMBERS THE CREATIVE HOBBY THAT INSPIRED THE WORLD
 HOW TO CARE FOR AND MAINTAIN THE ENERGY OF QUARTZ?
 HOW TO MAKE A STYROFOAM CHRISTMAS TREE?
Labels/Tags
 0 Comments

| 0 |

| 0 |

| 0 |

|

| 0 |

|
 Subscribe ♥
SEARCH

|

|
Categories
 New
New


Recent Posts
IN THE WORLD OF QUILLING ART
THE MAGIC OF CREATIVE KITS
A HANDMADE BRACELET IS THE PERFECT GIFT FOR A FRIEND
WHAT SHOULD WE KNOW ABOUT JASPER PENDANTS?
3 TOP IDEAS FOR TEMPORARY WALL DECOR AT AN AFFORDABLE PRICE
WOODEN ELEMENTS A TIMELESS TREND FOR YOUR HOME
AMAZING WEDDING DAY CARDS
Recent comments
Dawn Sullivan за IN THE WORLD OF QUILLING ART
Laura за THE ULTIMATE GUIDE TO CLEANSING AND CHARGING GARNET
JER за Discover and Master the Art of 3D Pen Drawings - A Step-by-Step Guide for 2D and 3D Objects and Sculptures
november birthstone за Discover the Power of Your Birthstones by Month, Zodiac Sign and Day of the Week
