


 0 Commentа
 Printing
 21.11.23
 03.05.19
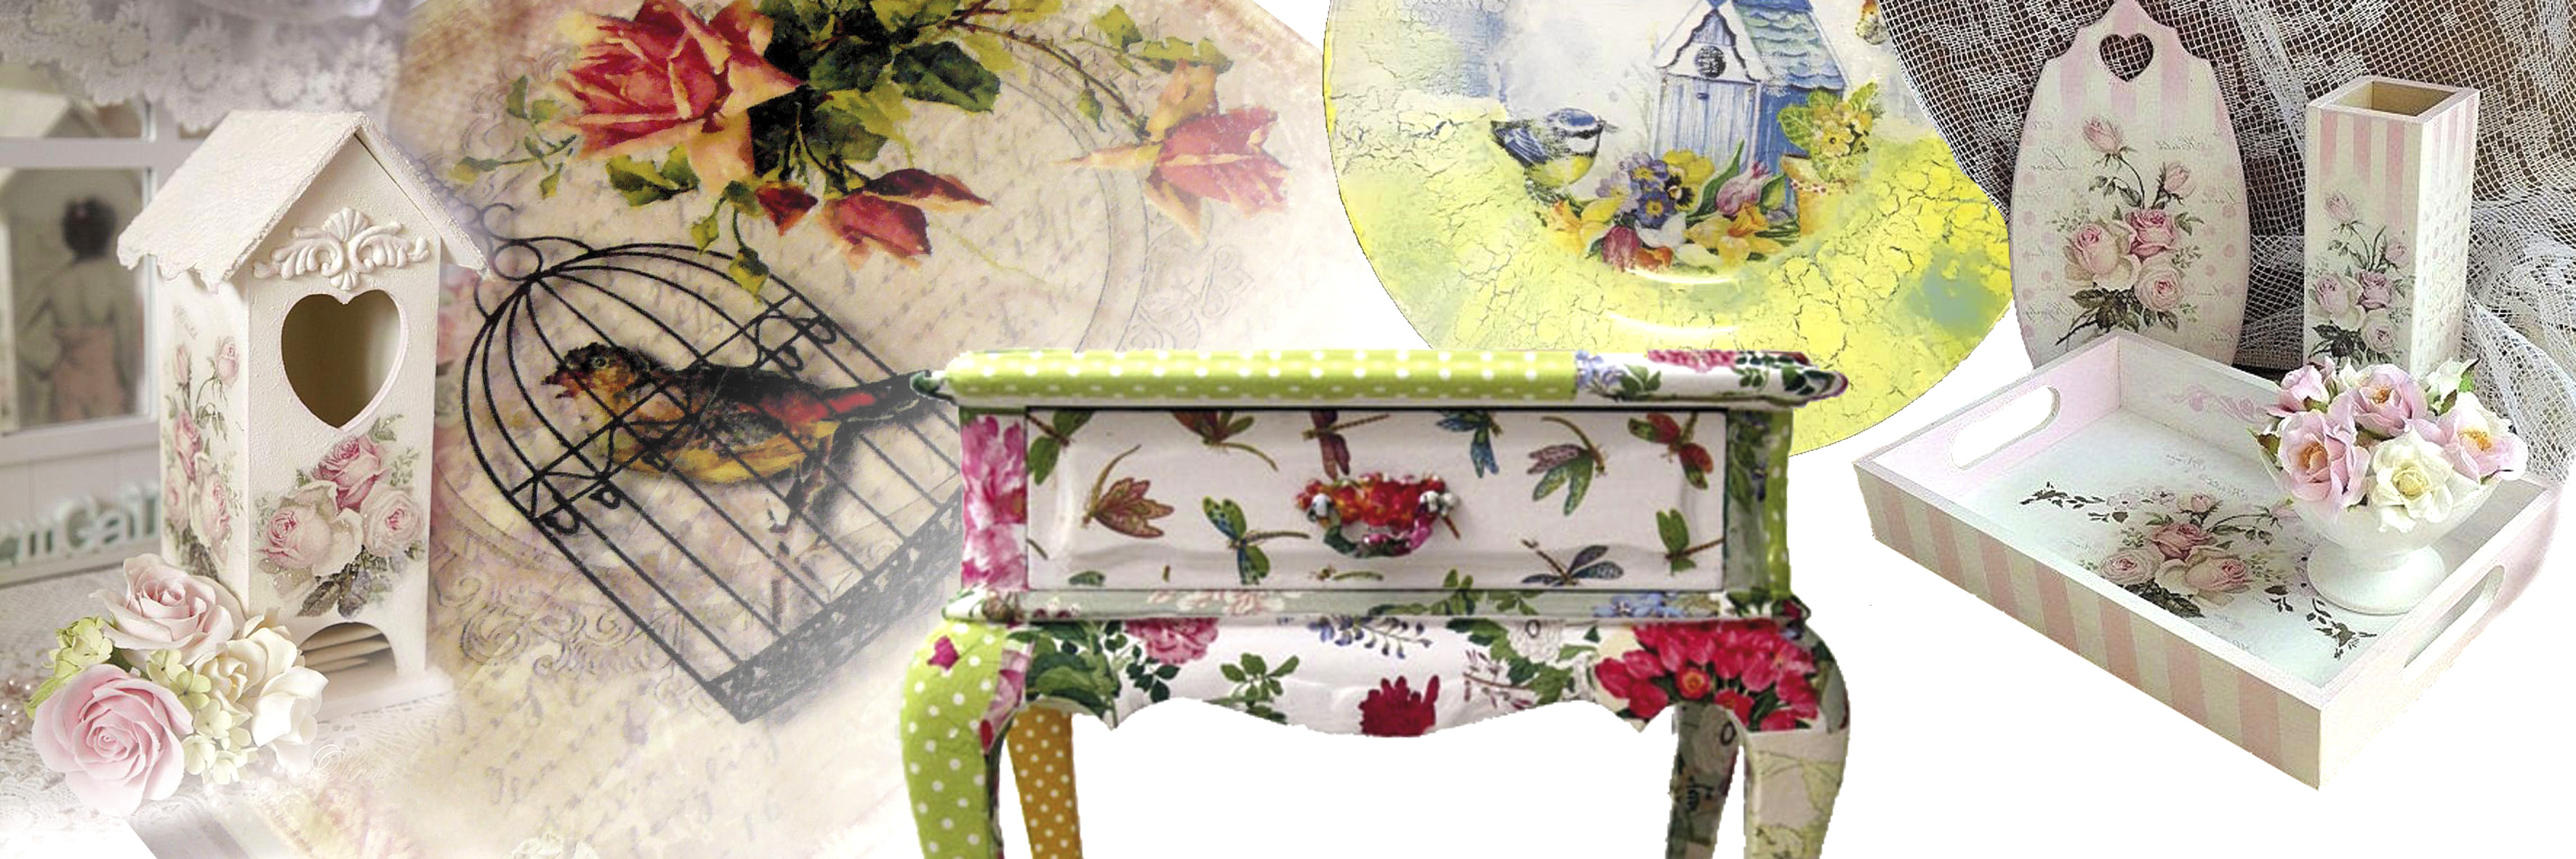
The Fairy World of Decoupage - Learn the basics
If you’re into DIY projects and beautifying everything around you with crafts, welcome to the art of decoupage!
Despite that craftsmanship is always an advantage, in this art form, you don’t need to be an artist to create a masterpiece that looks as if it came right from a professional’s brush.
In the broadest sense, decoupage involves cutting out elements from paper and applying them to items of various kinds using glue and lots of varnish.
The popularity of this technique is not surprising considering that with handy materials one can transform their home into a fairy tale wonderland.
The most fun part of this process lies in choosing papers, patterns, and items and combining them into beautiful designer pieces.
To make this even more enjoyable with even more professional results, EM ART provides you with a wide selection of napkins and decoupage papers, as well as a magical collection of items suitable for decorating from wood, MDF, ceramics, glass, cotton, plastic and styrofoam.
If you are a beginner to this endeavor, we have prepared a practical guide to help you get started!
-
Decoupage Supplies & Selection of materials
-
On what surfaces can we apply decoupage?
-
Decoupage can be applied to almost any surface that we want to decorate. Here are the most popular ideas:
- Tables, chairs, cabinets and other furniture
- Mirrors, frames, lanterns, hangers, desk and wall clocks
- Chests, boxes, baskets, vases, flower pots
- Trays, dishes, bowls, teapots, jars and bottles
- Ceramic miniatures and tiles
- Seasonal decorations
With decoupage technique, beautiful creations are made: paintings on canvas, wood or other surface…
Decoupage can be applied to these and many other items that you would like to personalize and beautify. The only limit is your imagination! Here are several wonderful suggestions from us:
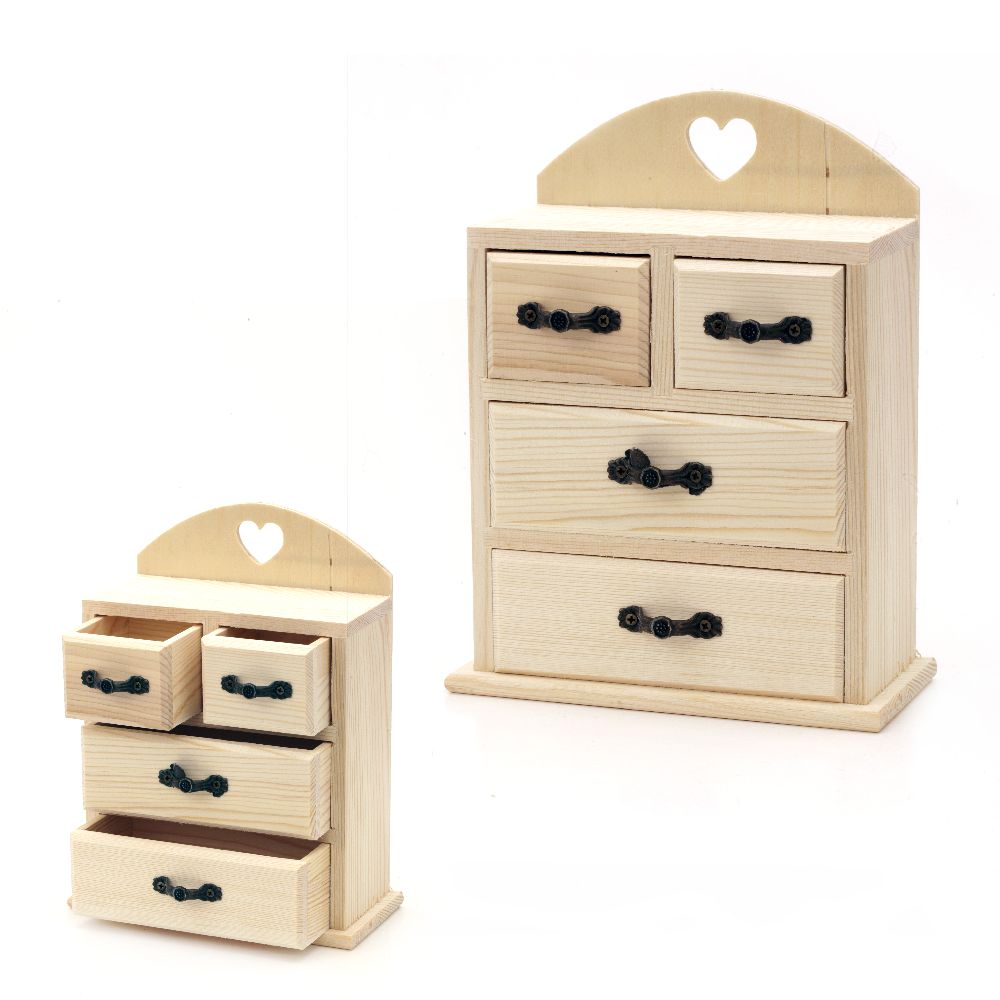

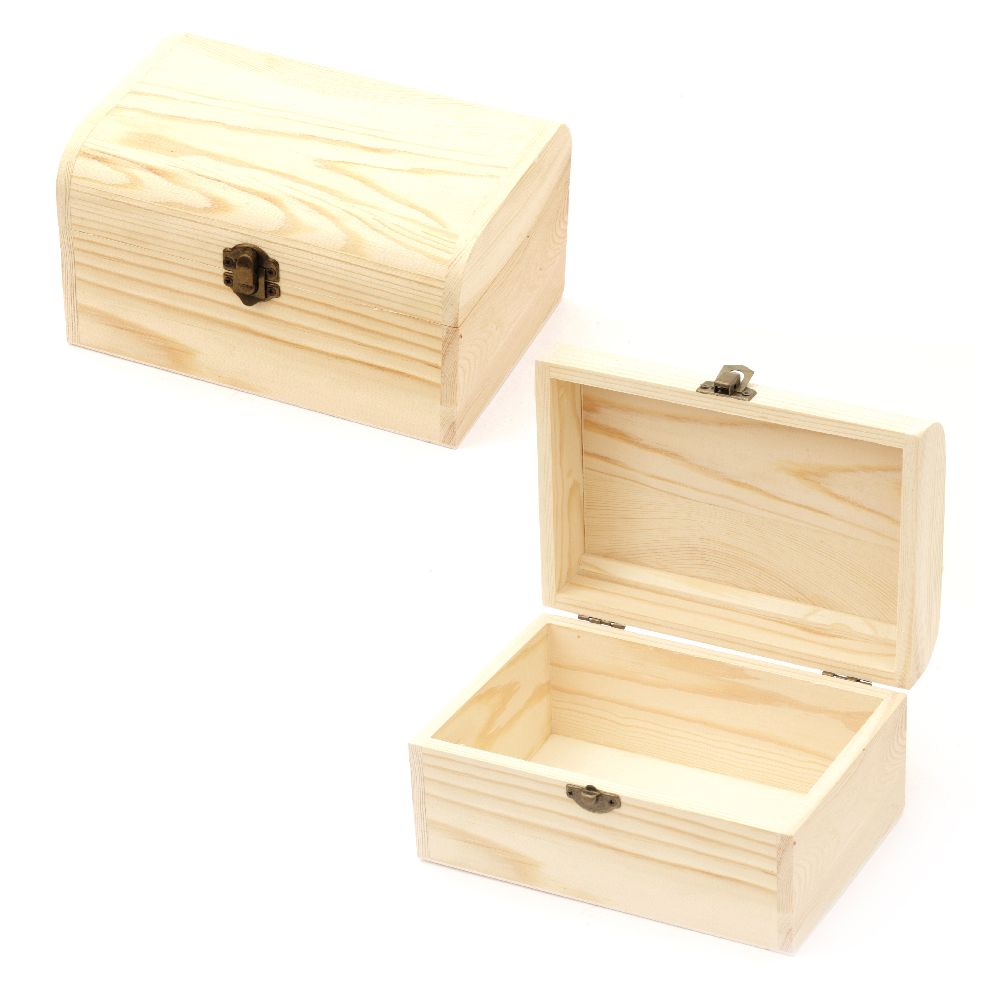
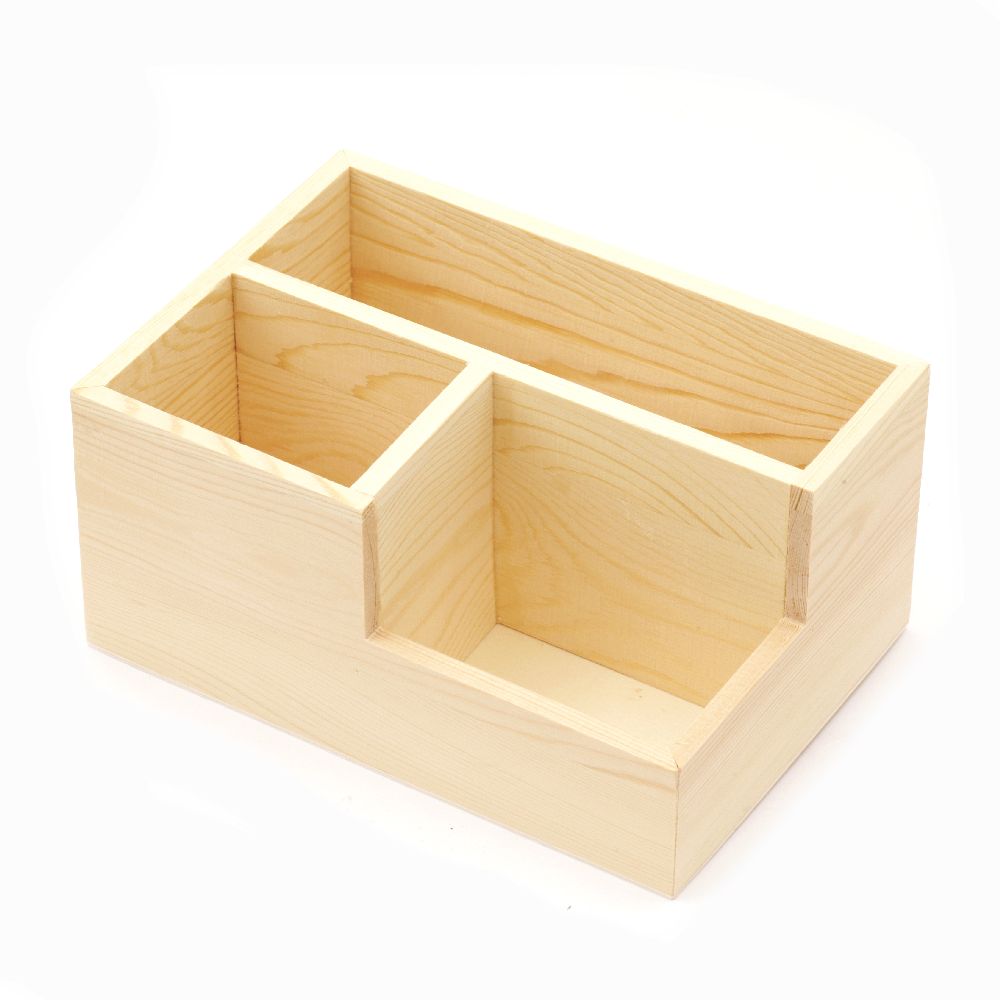
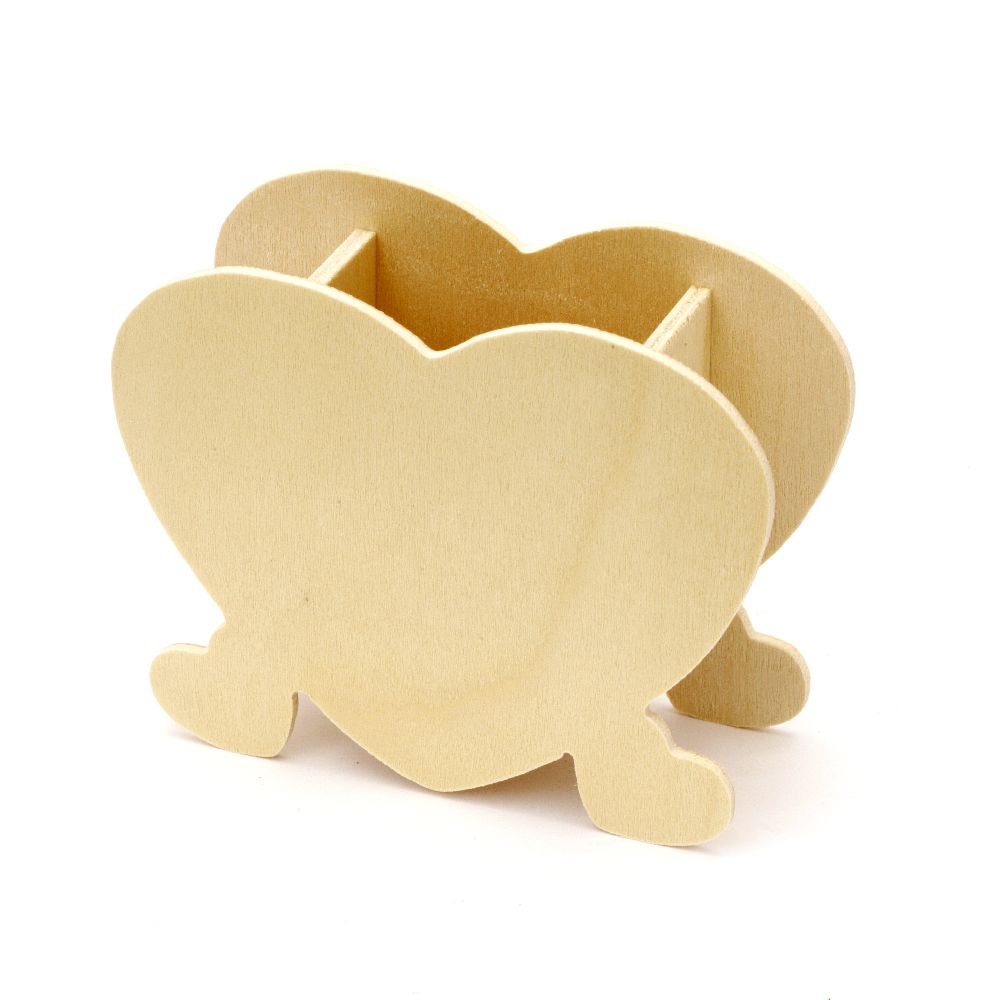
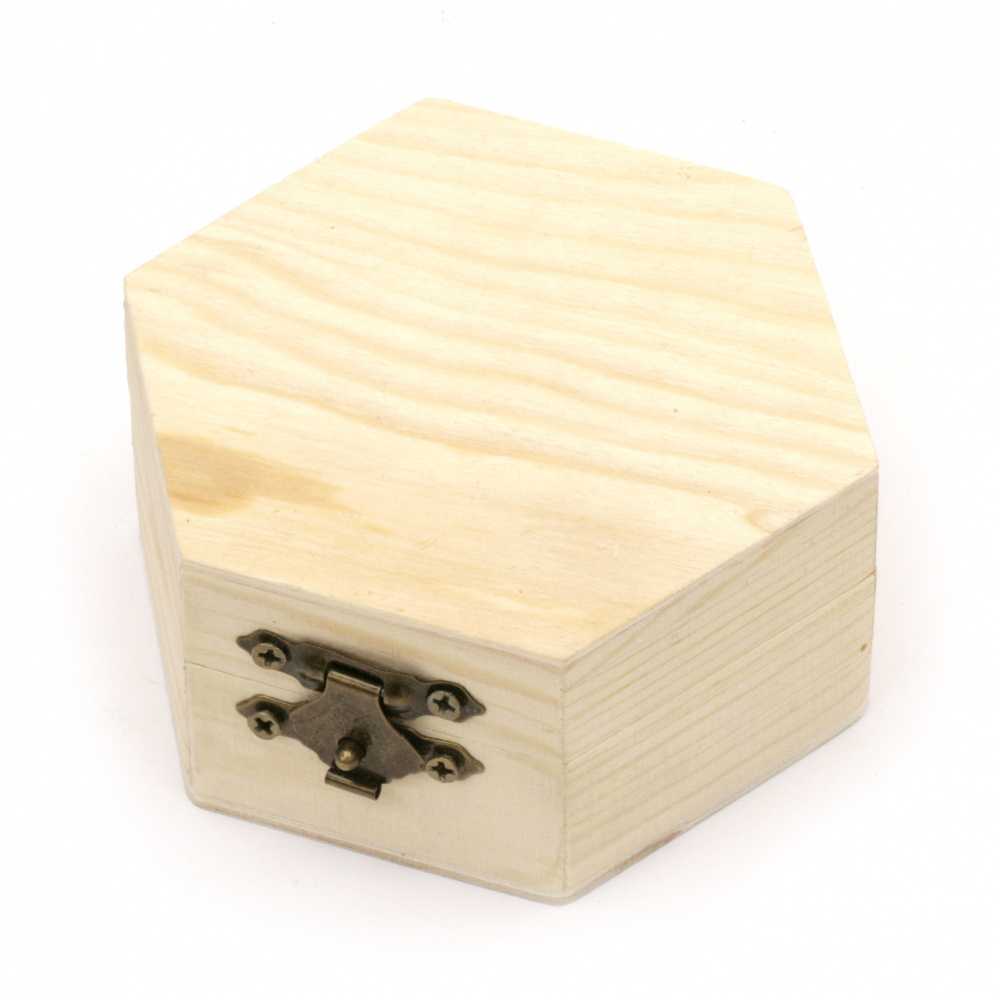
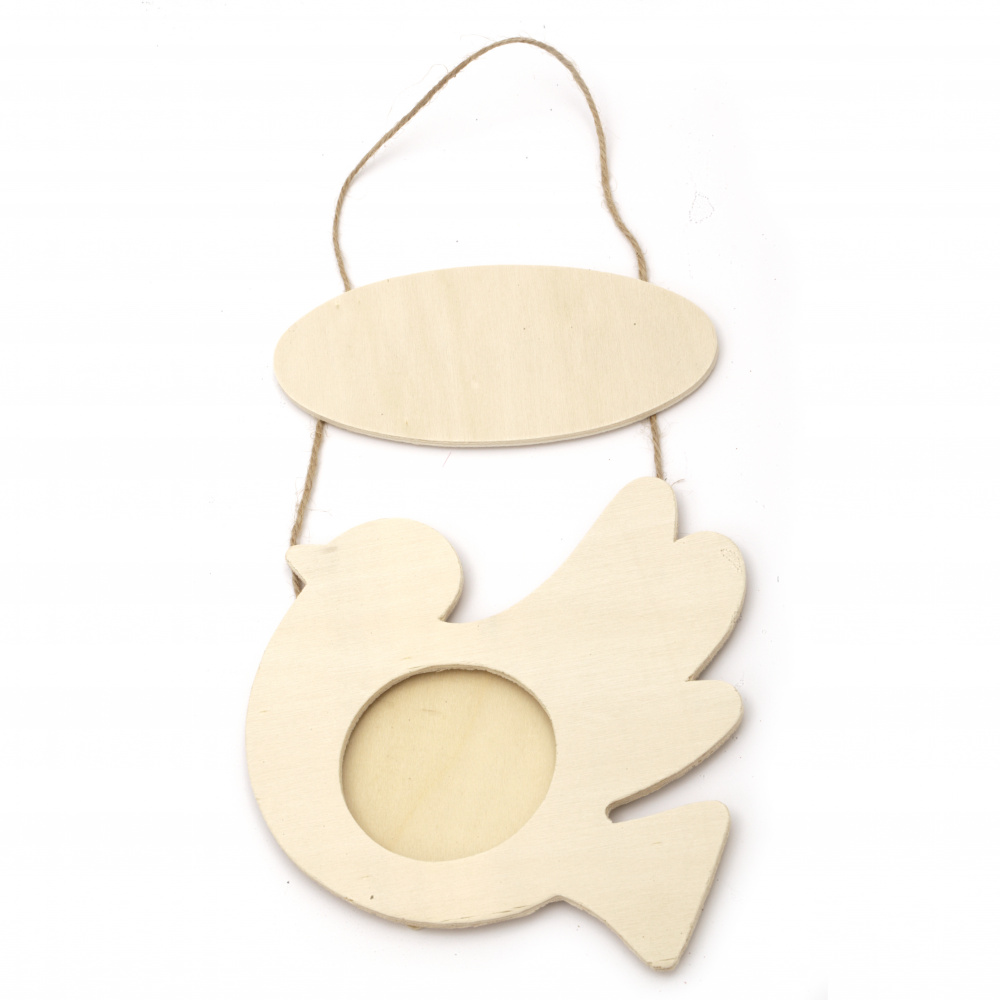
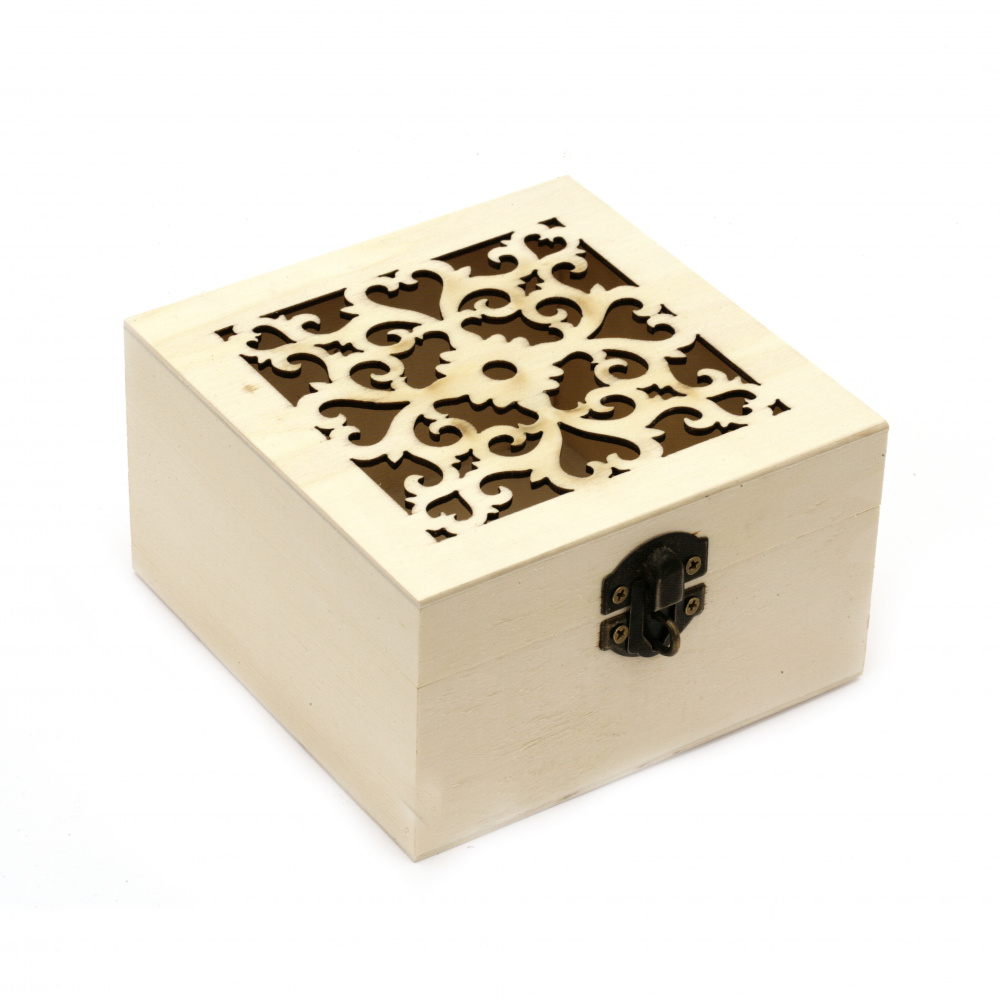
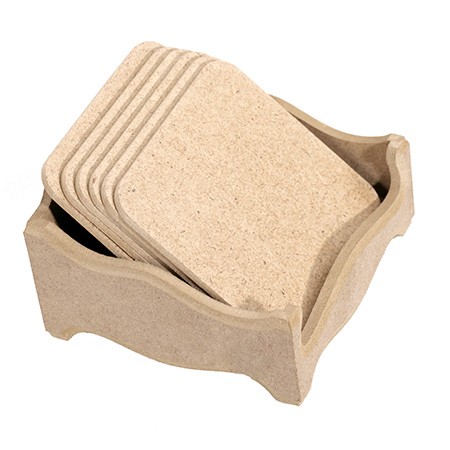

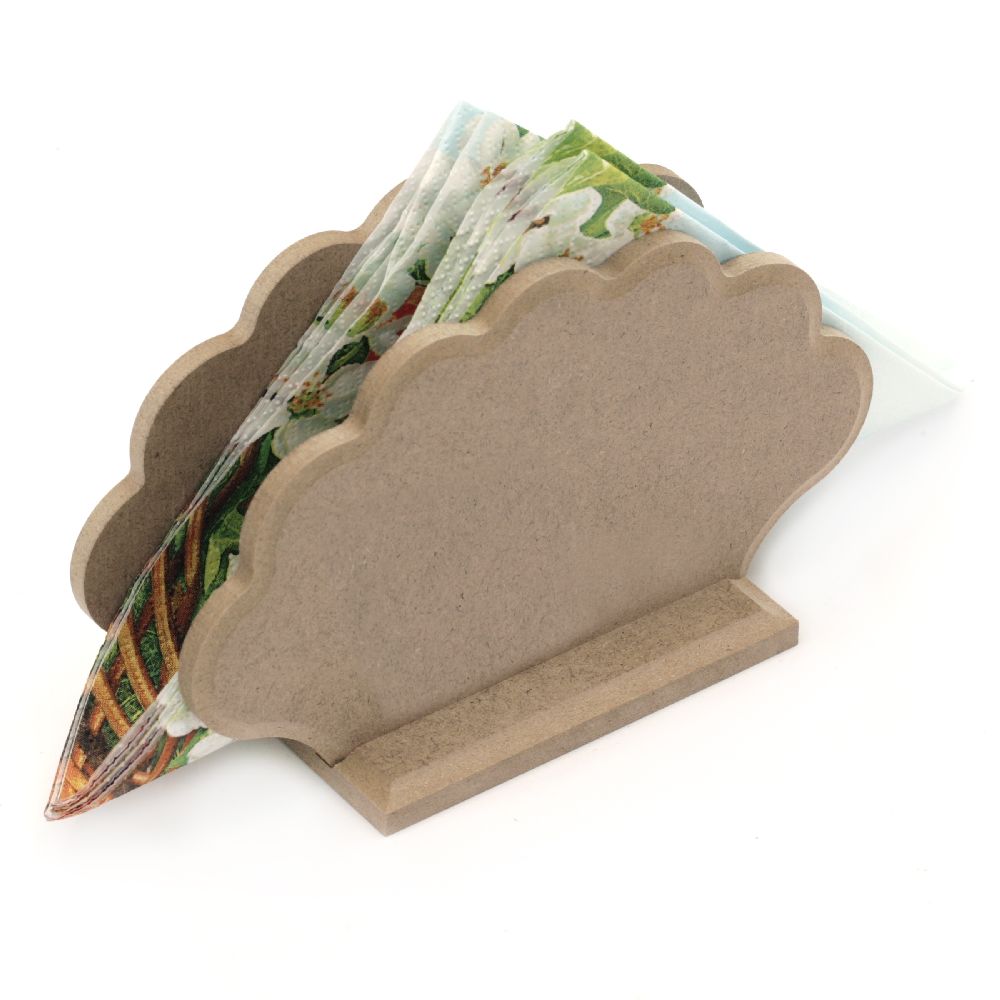


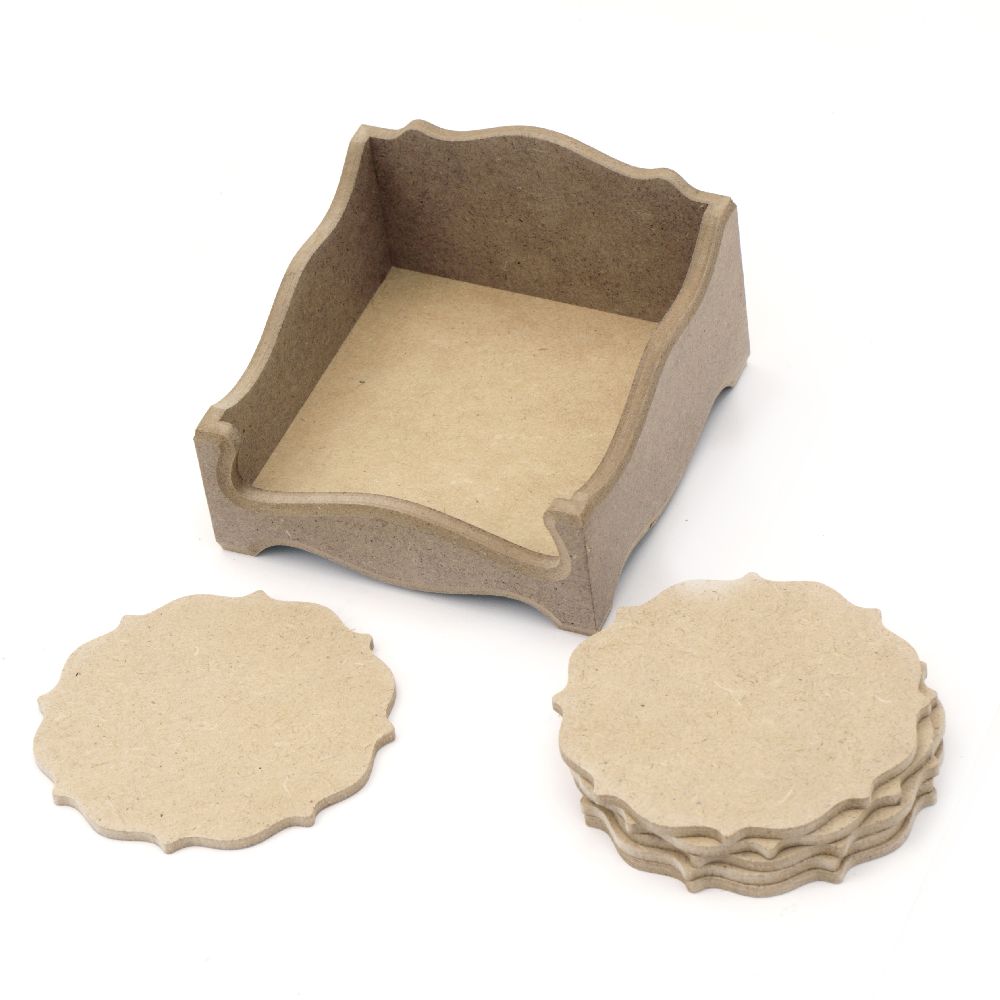
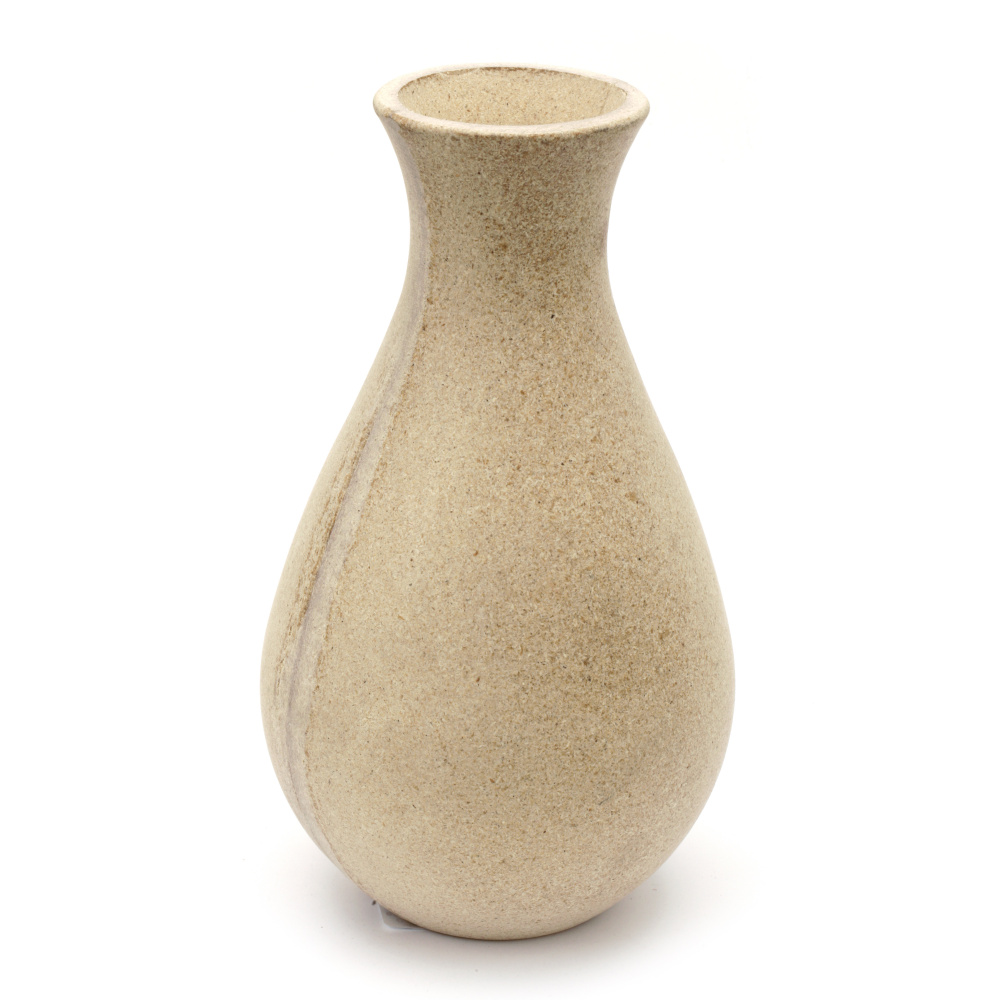
If you want to use some of these or similar items, you can check them out <<here>>.
-
What types of paper are needed for decoupage?
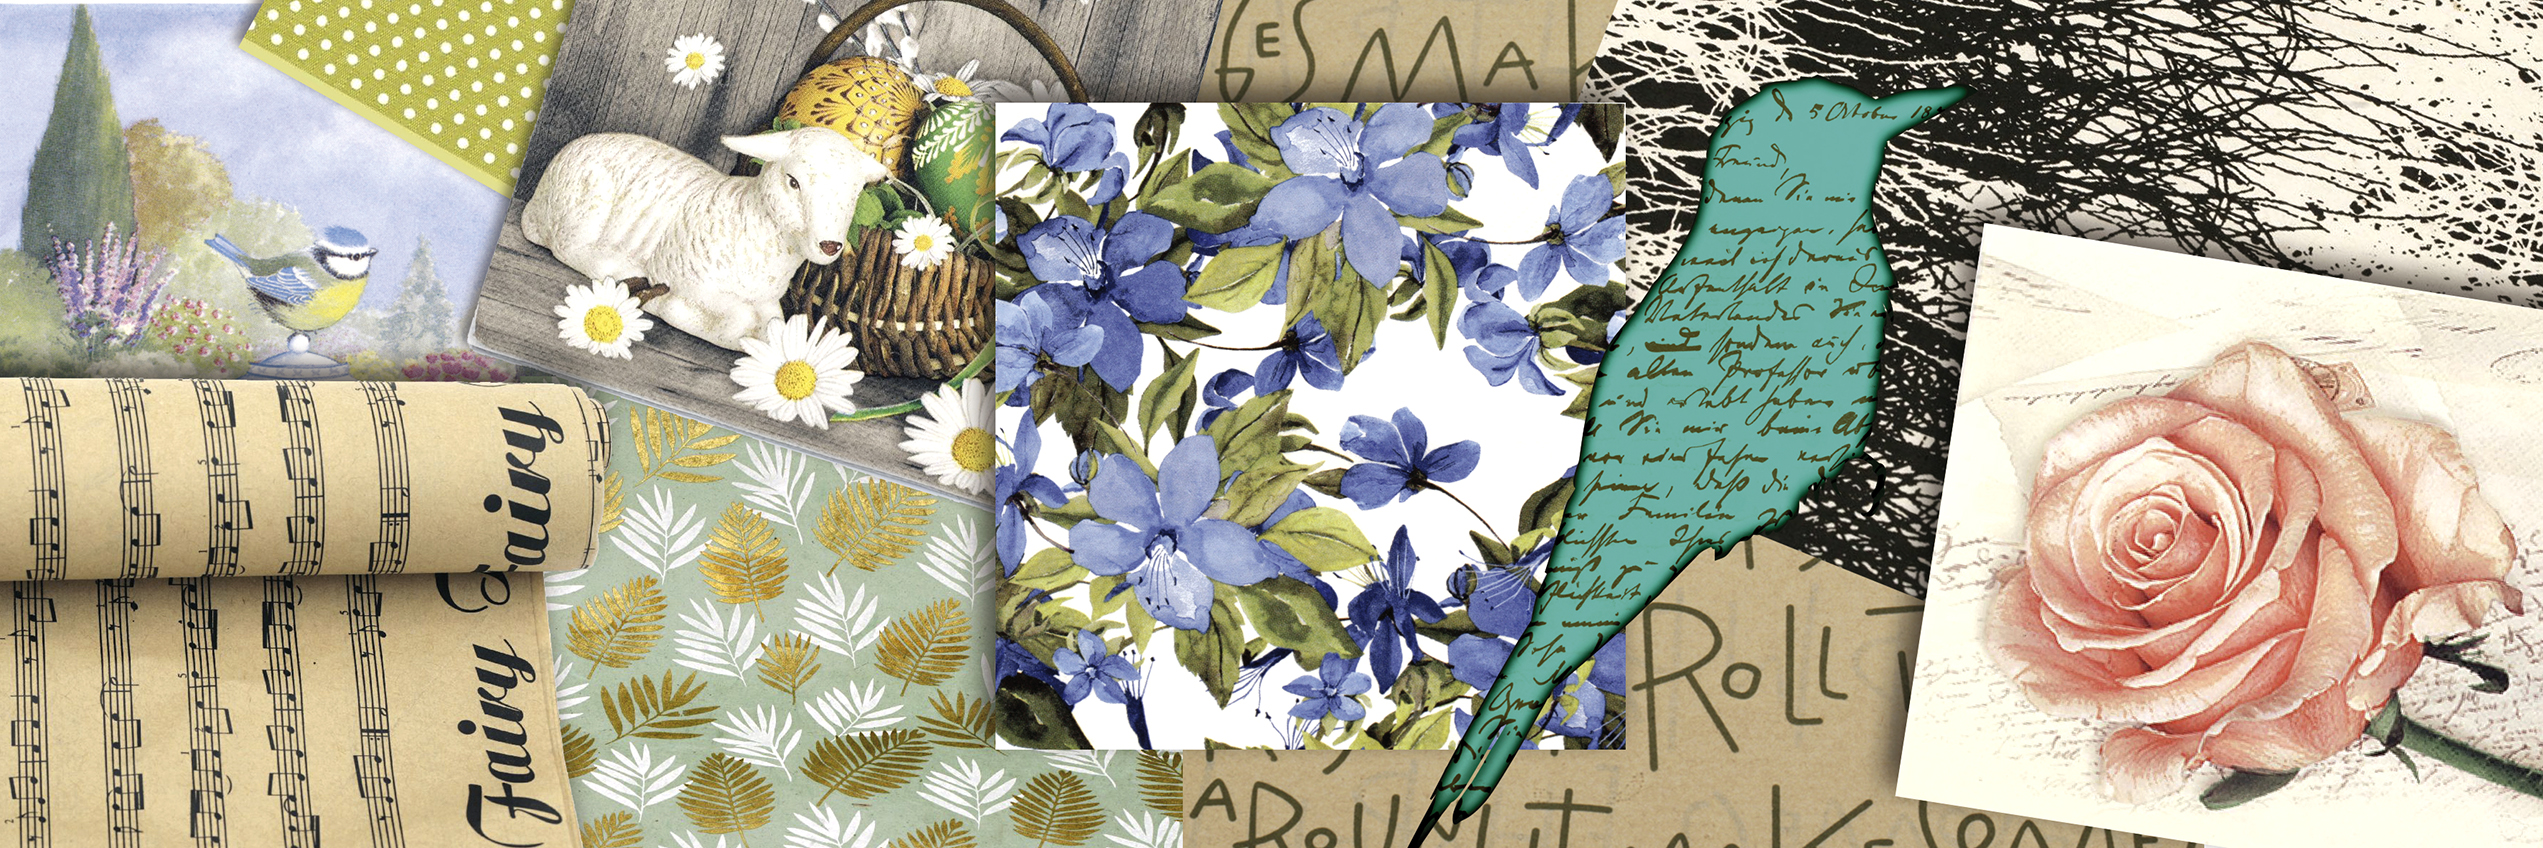
The type of paper we use depends primarily on the effect we aim to achieve. Thin and soft paper is used in most cases because varnish emphasizes unevenness and makes it stand out.
But of course, in some cases, this may be the result we are looking for. In the colorful world of papers, there are many sources we can use for decoupage:
- Wrapping paper
- Tissue paper - Very fine, it has a semi-transparent effect. Suitable for lanterns, candlesticks, bottles, jars, and glass vases.
- Handmade paper - Gives a special, natural glow to decorated items.
- Newspapers, books and magazines.
- Textile paper
- Decoupage paper - It’s made specifically for the decoupage technique. Working with it is the easiest and most professional way. The designs are selected specifically for this purpose.
- Napkins - Among the most preferred materials for decoupage due to the huge selection of fantastic patterns and fine paper.
- Origami paper - Small square sheets with miniature pictures and patterns that you can use like a mosaic.
- Transfer paper - With it you get the effect of decoupage without cutting and gluing as images are ready to be applied. After transferring them onto the desired surface you can apply varnish, paint, draw with ink and use aging effects like cracking and others.
- Fabric – Lightweight fabrics such as cotton or linen are suitable
Were we covered a wide range of the most useful paper types, but remember: there are no strict rules when it comes to selecting the perfect ones for your next creation.
Feel free to experiment with different types and even mix and match within one project. It’s all about expressing your creativity.
-
What decoupage glue should we use?
There are special decoupage glues that you may come across under the names decoupage mediums or transfer mediums and varnishes.
They glue, seal and varnish simultaneously. They can be applied multiple times on the decorated surface for better protection and a nicely looking finish.
When choosing a decoupage medium, it’s usually better to choose gloss since it retains its transparency, and the patternes of prints are clear, with colors even standing out better.
Tip: If you want a matte surface, use gloss for all layers and only apply matte for the finish.
-
Other Decoupage Supplies
Once you’ve chosen the object you want to decorate, the types of paper, glue and vanishes you plan to use, there are still a few more tools you’ll need:
- Scissors: Sharp decoupage scissors are crucial for trimming and cutting out your images.
- Paint Brushes: These are used for applying glue and sealer
- Sponge & Water Container: If you’re working with thicker papers, soaking them in water makes them easier to mold onto curved surfaces
-
Crafting Your First Decoupage Masterpiece
By definition, decoupage is an applied art or craft. But with the help of various mediums, structural and wax pastes, inks, gold leaf, and other artistic effects, it can ascend to the heights of fine art.
If you’re drawn to the enchanted world of decoupage, don’t hesitate to begin your journey. The technique might not be difficult but it’s honed with experience. It’s completely normal if your first one or two attempts don’t turn out as expected. By the third try, you’ll likely see success and each subsequent project will continue to exceed your expectations. Gradually, you will slowly but surely find your unique style.
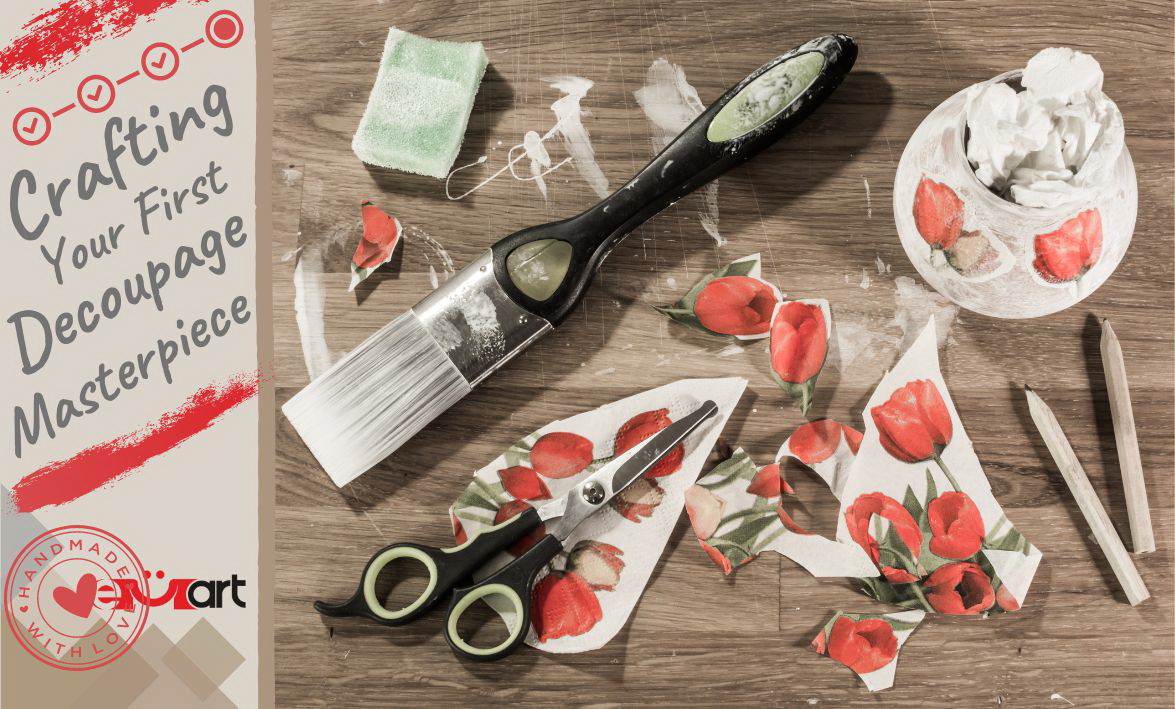
Here’s how to get started:
- Choose and Prepare Your Surface: If necessary, paint it. If not required, ensure that it’s clean and dust-free because flaws become more obvious with each layer of varnish.
- Select and Cut Out Details: Choose the details you want to apply and cut them out. Arrange the images on the surface.
- Position Smaller Details: Use tweezers for precision; don’t rush to glue until you’re sure about your composition.
- Find a Suitable Medium: This ensures that at the end of the project the finished result looks good and is functional.
Once all these preparations are done, you can move onto the next phase.
To complete your decoupage project:
- First, use a brush to apply a thin layer of decoupage glue either to the surface you’ve chosen to beautify, or to the back side of the chosen decorative pieces. Then, apply the fabric or paper to its right place and stick it firmly.
- If your project includes multiple layers, keep repeating this technique until you’re satisfied. Should air bubbles appear under the glued decoration, carefully push them out with your hands.
- Once completed, allow the decorated item time to dry fully before sealing it with a coat of decoupage medium followed by additional drying time.
And just like that - voila! You’ve successfully completed your first decoupage masterpiece.
-
Additional Effects and Advanced Techniques
Once you’ve mastered the basics of creative decoupage, you can experiment with more sophisticated techniques and various additional effects:
-
Aging and vintage techniques:
You can give an antique look to your decoupage creations using different methods:
- Crackle Effect: One-phase medium is applied between two layers of acrylic paint in different colors which cracks the top layer. Two-phase medium acts as a final self-cracking varnish on the decorated surface. Cracks formed with a two-phase crackle can be highlighted by applying antique pastes in contrasting colors.
- Paraffin / Candle: After the first layer of acrylic paint dries, it is smeared with paraffin. A second layer in a contrasting color is applied on top; once dry, it’s lightly sanded.
-
3D Decoupage and other ways to add texture:
You can create three-dimensional decoupage, by cutting and applying multiple layers of the same shape that you choose. Adding more texture, combining the base with many new layers to make the them stand out even more! Usually a similar effect can also be achieved in various other ways:
- Lace Relief: Lace texture adds an exquisite touch to decoupage pieces. Apply like other elements; reinforce if desired with decoupage paste for added prominence.
- Relief with Stencils and Structural Pastes: EM ART offers reusable stencils and specialized decoupage paste for creating relief patterns.
- Relief with Wooden Figures or Laser Cut Chipboard shapes: Selected elements are glued onto finished products then painted to blend seamlessly.
Of course, there are many other ways to add other kinds of effects, but as you know, creative minds have no limits! As a beginner, first give yourself all the time and supplies you need to cover the basics.
Embarking on your first decoupage project can be the beginning of a fascinating and rewarding craft journey. With a pinch of patience, a dash of creativity, and the right supplies, you can transform everyday items into unique masterpieces. Remember, every expert was once a beginner. So, pick up that brush and make your world more colorful with decoupage!
| Daya (Daya) | Daya |
 I am a huge enthusiast of creating new handmade beauties, whether it is with beads, paper and pen, canvas and acrylic, or yarn. Every form of art or intricate crafting brings additional inspiration! If you are curious about what else we can make and craft with art and craft materials, stay tuned for updates in the blog and, of course, feel free to share your ideas!
| All articles on Daya |
Rate the article 5.00/5 from 1 grades. |
|
| You have already voted for the article | |
Recommended articles
 HANDMADE MARTENITSA FOR HOME AND OFFICE
 A HANDMADE BRACELET IS THE PERFECT GIFT FOR A FRIEND
 TOP CREATIVE DIY PROJECTS FOR YOUR FAMILY HOME
 THE MYSTICAL ALLURE OF AVENTURINE IN THE WORLD OF ZODIAC SIGNS
Labels/Tags
 0 Comments

| 0 |

| 0 |

| 0 |

|

| 0 |

|
 Subscribe ♥
SEARCH

|

|
Categories
 New
New


Recent Posts
IN THE WORLD OF QUILLING ART
THE MAGIC OF CREATIVE KITS
A HANDMADE BRACELET IS THE PERFECT GIFT FOR A FRIEND
WHAT SHOULD WE KNOW ABOUT JASPER PENDANTS?
3 TOP IDEAS FOR TEMPORARY WALL DECOR AT AN AFFORDABLE PRICE
WOODEN ELEMENTS A TIMELESS TREND FOR YOUR HOME
AMAZING WEDDING DAY CARDS
Recent comments
Dawn Sullivan за IN THE WORLD OF QUILLING ART
Laura за THE ULTIMATE GUIDE TO CLEANSING AND CHARGING GARNET
JER за Discover and Master the Art of 3D Pen Drawings - A Step-by-Step Guide for 2D and 3D Objects and Sculptures
november birthstone за Discover the Power of Your Birthstones by Month, Zodiac Sign and Day of the Week
